
Launching a campaign
This guide walks you through the readiness checks a campaign must pass, what happens when you click "Launch Campaign", and how to diagnose a launch that stalls or errors.
Overview
Before a campaign can go live, Ken AI validates it against a set of readiness requirements. Once those pass, two steps take a campaign from draft to sending: Start (which kicks off data-processing workflows like enrichment and segmentation) and Launch Campaign (which pushes the campaign to the sending layer and begins outreach).
Both actions are available from the campaign detail page at /campaigns/[id]. The action button in the top-right corner of the campaign header changes label based on the current lifecycle status. You do not need to navigate to a separate "launch" page - the same header button drives the full progression.
Before you start
- You must have at least Editor-level access to the campaign's client workspace.
- The campaign must be in Draft status for the Start button to appear, and in Ready status for Launch Campaign to appear.
- At least one sending mailbox must be connected to the workspace. Launch hard-fails if no inboxes are available.
- The campaign's schedule timezone must be one of the supported zones. UTC is not accepted by the sending layer. If your campaign was created before this requirement was introduced, the platform coerces a legacy UTC value to Eastern Time on load - check the Settings tab to confirm the persisted timezone is correct before launching.
How to launch a campaign
Step 1 - Complete setup and pass readiness checks
Open the campaign and look at the header. If the status badge shows Draft, the header button reads Start.
Before clicking Start, check whether a readiness checklist is visible. While a campaign is in Draft, the platform displays every check the backend must pass before it will allow the campaign to proceed. Each check shows a passed or failed state. Failed checks are listed with specific messages - for example, "No contacts imported" or "Sequence is empty".
If any checks have failed, the Start button is disabled. Address each failing check (add contacts, complete the email sequence, configure settings) and the checklist updates automatically after each save - you do not need to reload the page.
Once all checks pass, click Start. This transitions the campaign to Building and begins background workflows: contact enrichment, email discovery, AI qualification, and segmentation. You can monitor progress from the status badge in the header - hover it to see a breakdown of active sub-stages (such as "Segmenting" or "Generating links").
Step 2 - Review and launch
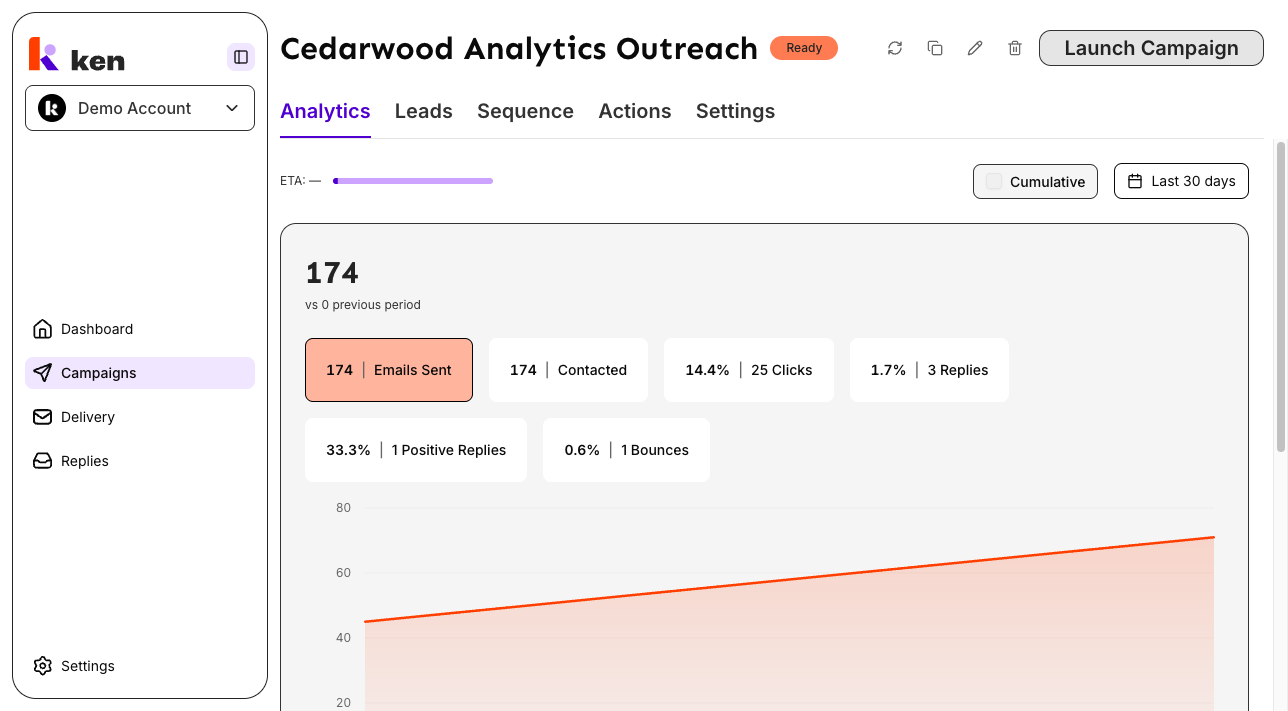
When all background workflows complete, the campaign transitions to Ready. The header button label changes to Launch Campaign.
Click Launch Campaign. A confirmation dialog appears asking you to confirm. Click Yes, launch campaign to proceed.
The campaign transitions to Launching while the platform prepares the sending layer. During this brief period the action button disappears and the header polls automatically every few seconds. Once the pipeline completes, the status changes to Sending.
Other header actions
The header button label changes at every stage:
| Campaign status | Button label | |---|---| | Draft | Start | | Building | Pause | | Ready | Launch Campaign | | Sending | Pause Campaign | | Paused | Resume Campaign | | Error | Restart | | Completed | (none) |
To pause a live campaign, click Pause Campaign from the campaign header. To resume it, click Resume Campaign. Both actions show a confirmation dialog before executing.
How it works
When you click Launch Campaign, the platform runs a two-phase pipeline.
Phase 1 - Claim. The backend validates your access, the sending schedule, and the workspace's sending credentials. It then atomically marks the campaign as Launching. This happens synchronously and acts as a concurrency guard - a second simultaneous launch request is detected and returns without double-launching.
Phase 2 - Background pipeline. For every active audience segment (including the broad "Default" segment), the platform creates or reuses a dedicated sub-campaign on the sending layer. Each sub-campaign is independently configured with its sending settings, schedule, sender mailboxes, and email sequence.
Mailbox attachment loads the workspace sender list and applies it to each sub-campaign. This step is rate-limit-aware and retries on throttle responses.
Before the email sequence is pushed to the sending layer, every personalization token (for example {{subject_line}}) is confirmed to exist as a defined variable in the workspace. If any token is missing, the launch aborts for that segment. This prevents emails with literal placeholder text from reaching prospects.
Leads are then exported into each sub-campaign. The platform verifies that each sub-campaign received leads before resuming it - segments that received no leads are skipped.
If any segment's configuration fails, the entire campaign is set to Error rather than going partially live. This prevents a split state where some segments send and others silently do not.
Troubleshooting & debugging
Symptom: Start button is disabled / grayed out
- Cause: One or more readiness checks have failed.
- What to check: Look at the readiness checklist displayed below the header. Each failing check includes a message describing what is missing. Common failures: no contacts imported, sequence has no steps, settings are incomplete.
- Fix: Address the items listed. The checklist refreshes automatically after each save.
Symptom: Campaign stuck in Launching for more than 5 minutes
- Cause: The background pipeline is still running - expected duration is 30-120 seconds, longer for many segments or large sender workspaces.
- What to check: The header polls automatically. If the status has not changed after 5 minutes, look for an Error state.
- Fix: If status switches to Error, click Restart.
Symptom: Campaign transitions to Error immediately after launch
- Cause: No connected sending mailboxes, a segment configuration failure, or a bad workspace credential.
- What to check: Check the Actions tab for segment-level error notes. The campaign row on
/campaignsmay also show a specific reason. - Fix: Resolve the underlying issue (connect inboxes, fix credentials, remove conflicting leads) and click Restart.
Symptom: Campaign shows Sending but no emails are going out
- Cause: A segment received no exported leads, or all leads were already enrolled in another active campaign at launch time.
- What to check: Go to the Leads tab and check contact counts per segment. Check whether leads are marked as exported.
- Fix: Add contacts and restart, or duplicate the campaign to use a fresh audience that does not overlap another active campaign.
Symptom: Emails going out with literal {{subject_line}} placeholder text
- Cause: A personalization token in the sequence had no matching variable definition in the workspace. The platform normally blocks this, but it can occur on migrated or replayed campaigns.
- What to check: Open the Sequence tab and compare every token against the variables defined in workspace settings.
- Fix: Pause immediately. Add the missing variable definition and restart. Emails already delivered cannot be recalled.
Symptom: "Something went wrong" toast on Start or Launch
- Cause: Stale page session (tab open before a recent platform deploy) or a transient server error.
- What to check: Hard-reload (Cmd+Shift+R / Ctrl+Shift+R) and check whether the campaign status actually advanced despite the toast.
- Fix: Reload and retry. If the status did not advance, contact support with the campaign ID and approximate time.
Symptom: UTC timezone on Settings tab after campaign was created
- Cause: The sending layer does not accept UTC. The platform coerces a legacy UTC value to Eastern Time on load, but the change must be saved before launching.
- What to check: Open Settings. If the timezone reads "America/New_York" but was originally UTC, save the Settings form to persist the coerced value.
FAQ
How long does a campaign take to go from Ready to Sending? Most campaigns complete the Launching phase in under two minutes. Campaigns with many segments or large sender workspaces (hundreds to thousands of mailboxes) can take up to five minutes. The page refreshes automatically - no manual reload is needed.
Can I edit a campaign after it is Sending? Sequence edits and settings changes on a live campaign apply to future sends but do not affect emails already queued or delivered. Pausing the campaign before making structural changes is recommended.
What happens to leads that are in another active campaign? The sending layer rejects leads already enrolled in another active sequence. The error message on the affected segment row identifies this. Remove the conflicting leads from the other campaign, or duplicate this campaign to target a non-overlapping audience.
Can I relaunch a completed campaign? Completed campaigns have no relaunch button. Use the copy icon in the header to duplicate it, then start and launch the duplicate. You can choose whether to include the original leads.
Why did my Start button toast errors instead of starting? Clicking Start when readiness checks have failed toasts each failing check message instead of calling the backend. The UI surfaces the reasons immediately so you can address them without a failed round-trip. Fix each item and try again.
What does the processing status show during Building? The status badge in the header shows active sub-stages in real time - for example "Segmenting", "Generating links", or "Personalizing". Hover the badge on the campaigns list to see each sub-stage as a separate pill. These update automatically with no reload required.