Audience and segments in the AI build
Learn how the AI build defines your target audience, counts matching leads, filters out poor fits, and groups qualified prospects into segments so each group receives messaging written for them.
Overview
The AI campaign build walks you through eight steps at /campaigns/build. Three of those steps work together to build your audience:
- Step 4 - Ideal customer: search the Ken database with live filters, see matching prospects, and set how many contacts to find.
- Step 5 - Qualify: review which leads passed the AI's fit check and which were filtered out, with a reason for each verdict.
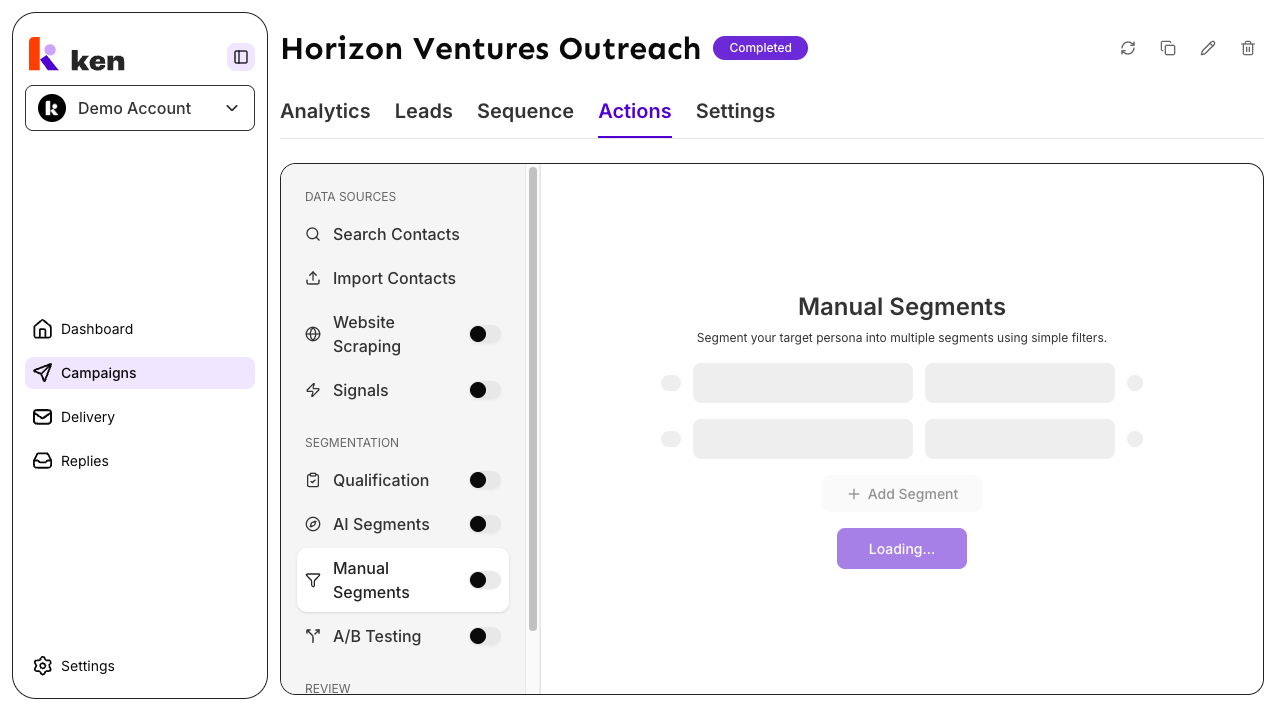
- Step 6 - Segment: see how qualified leads are grouped into focused sub-campaigns, each with a one-sentence placement reason.
The step rail across the top of the page shows all eight steps. Click any dot to jump between them.
Before you start
- You must have an active build session. These steps are not available from the standard campaign list view.
- Lead credits are consumed when Ken fetches contacts. Check your remaining balance before setting a large contact target - it is shown next to the target field in step 4.
How to use the audience and segment steps
Step 4 - Define your ideal customer
- Reach step 4 ("Ideal customer") by following the AI's guidance through the earlier steps.
- The Search Contacts panel opens. Filter controls on the left are pre-filled with the AI's suggested ICP (titles, industries, locations, and similar criteria).
- The right side shows a live preview of real matching prospects. Cards update as you adjust filters.
- The Leads Found counter in the top-right refreshes automatically. If it shows a stale value, click the refresh icon next to it.
- Fill in How many contacts should Ken find? and click or tab out to save. Your remaining lead credits are shown below the input.
- To reset all filters, click Clear filters at the top-right of the panel.
Step 5 - Review qualification results
- Advance to step 5 ("Qualify") after the audience step completes.
- The summary card at the top shows total leads sourced, how many were qualified, and how many were filtered out.
- Two text fields below show the Qualifies and Disqualifies criteria the AI used. Edit either field and tab out to save - the AI will use your changes.
- Lead cards show each person's name, title, company, verdict badge, and one sentence explaining the decision.
- Click any lead card to override the verdict.
Step 6 - Review segment assignments
- Advance to step 6 ("Segment") after qualification.
- A summary card explains how Ken segmented the audience.
- One column per segment shows the segment name, lead count, a short description, and the individual lead cards with a placement reason.
- To rename a segment, click the segment name at the top of the column, type the new name, then click or tab away to save.
- To move a lead, drag its card and drop it onto a different segment column.
How it works
Live audience count (Step 4)
The filter panel queries Ken's 280M+ B2B contact database in real time. The Leads Found counter reflects matching contacts for the current filter state. The preview cards show a sample - names, titles, companies, tenure, funding stage, and location - so you can confirm the audience before committing credits. The counter can briefly show a stale value while a query runs; the refresh icon turns orange to signal this.
The contact target you set reserves lead credits. Ken will find up to that many contacts when the build completes.
Qualification (Step 5)
Every prospect is scored by an AI model against your ICP criteria before any email goes out. The model reads the full lead profile - company website content, job description, headline, role history, and company specialties - and returns a single qualify or disqualify verdict with one sentence of reasoning citing the specific data point that drove the decision.
The AI uses a field-trust hierarchy: website content and company descriptions are high-trust; industry labels, job titles, and seniority alone are low-trust. The model will only disqualify a lead when a high-trust field shows a clear mismatch. It is biased toward inclusion - missing data is never a reason to disqualify, and conflicting signals default to qualify so borderline-good leads are not silently discarded.
Special cases are handled explicitly: founders with non-standard titles are treated as decision-makers, fractional executives count as in-house roles, and multi-company prospects qualify if any active company fits the ICP.
Segmentation (Step 6)
After qualification, each qualified lead is assigned to exactly one segment using the segment definitions agreed on in step 3 (Planning). The model must write its reasoning before it names a segment - this produces auditable, citation-backed assignments. Website copy and company descriptions outweigh industry tags in this step too. The catch-all segment is a last resort, not a default bucket.
If your campaign has only one segment, every qualified lead is assigned to it directly without an AI call.
Segment assignments and per-lead reasons are stored and visible in the segment preview. The reasoning is retained after the build completes.
Troubleshooting & debugging
Symptom: Leads Found shows 0 or does not update.
- Cause: the search service may be loading, or the filter combination has no results.
- Fix: click the refresh icon. If the panel shows "Failed to load search metadata," wait 30 seconds and reload the page. If the count stays at 0 with reasonable filters, remove the most recently changed filter and try again.
Symptom: The contact target resets or shows an error after saving.
- Cause: the number entered exceeds your available lead credits.
- Fix: the helper text below the field shows your remaining credits. Enter a value at or below that number.
Symptom: A lead you expected to pass was filtered out.
- Cause: the disqualification criteria matched a high-trust field in the lead's profile.
- Fix: read the one-sentence reason on the lead card. If you disagree, click the card to override the verdict. To prevent similar leads from being filtered, edit the Disqualifies field to be more specific.
Symptom: A lead landed in the wrong segment.
- Cause: segment descriptions may be ambiguous, or the lead's profile data was sparse.
- Fix: read the one-sentence reason on the lead card. Drag the lead to the correct segment manually. To prevent this at scale, return to step 3 and sharpen the segment descriptions.
Symptom: All leads are in one segment even though multiple segments were defined.
- Cause: if the campaign has only one active segment, the AI assigns everyone to it directly. If multiple segments were expected, the definitions may not have been saved in step 3.
- Fix: go back to step 3 (Planning) and confirm the segment list.
Symptom: The segment step shows no leads.
- Cause: all leads were disqualified in step 5.
- Fix: go back to step 5. Review the filtered-out lead reasons. Edit the Disqualifies criteria or override individual verdicts, then advance to step 6 again.
FAQ
Can I change the ICP filters after the AI sets them? Yes. The filter panel in step 4 is fully editable. Adjust any filter and the Leads Found counter and preview update live.
What happens if I set the contact target to 0? No lead credits are reserved and Ken will not fetch contacts for this campaign. You can increase the target by returning to step 4 while the build session is still active.
Does qualification run on every lead Ken finds, or just the preview sample? Qualification runs on the real contacts Ken fetches after the build completes, not just the preview sample shown in step 5. The step 5 preview is a representative sample for validating your criteria.
Can I edit the qualification criteria after the build finishes? Yes. The criteria are saved as part of the campaign configuration and can be updated from the campaign's settings before re-running qualification.
Why does the AI qualify leads I consider a bad fit? The AI is biased toward inclusion to avoid discarding paid-for contacts on ambiguous signals. Add specific exclusion rules to the Disqualifies field, referencing the exact company type or role attribute that should always be removed.